Announcing Fitbit OS 2.0 and Our Brand New Simulator!

Fitbit OS 2.0 for Developers
Alongside the launch of the new Fitbit Versa smartwatch, we're also introducing our brand new multi-device simulator and Fitbit OS 2.0. This builds on the foundation of our powerful operating system, which debuted with Fitbit Ionic last year.
This latest firmware version will be installed on all Versa devices, and provided as an update for all Ionic users this Spring.
What's New
In addition to the new features in Fitbit OS 2.0, such as the new shortcuts menu to access music controls, Fitbit Pay and quick settings, and the updated interactive dashboard, this major milestone release focuses upon three key areas of interest for developers using the Fitbit SDK:
Multi-device support. We're now a platform supporting more than one device running Fitbit OS!
Faster application and clock face startup.
General bug fixes, better stability, more reliable communications, and a speed boost thrown in for good measure.
Hardware Differentiators
In addition to the new form factor and hardware design of Versa, there are some specific hardware differences between Ionic and Versa that developers should be aware of when creating applications or clock faces:
They have a different size and shape display. Ionic is 348x250, while Versa is 300x300.
Versa does not have on-board GPS, only connected GPS. If your application relies upon the Device Geolocation API, you should consider adding your own fallback method using the coordinates from the Companion Geolocation API.
Targeted Resources
In order for developers to concurrently build applications for Versa and Ionic,
we have updated Fitbit Studio to include the
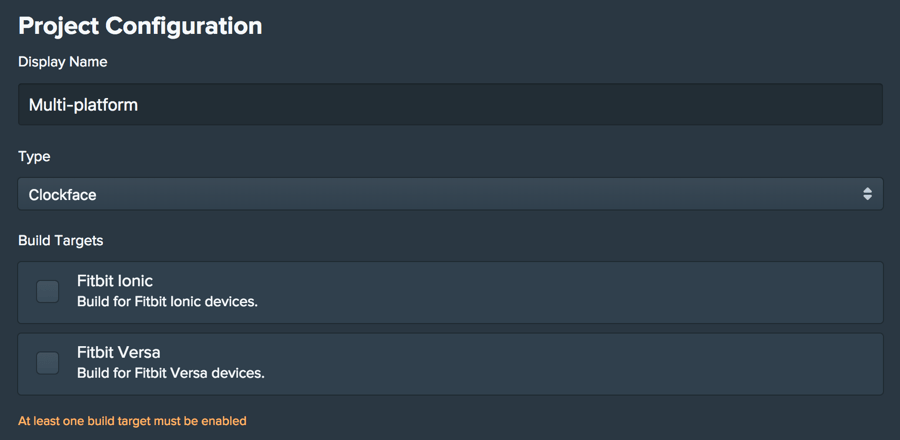
ability to build projects for multiple devices by selecting the relevant
Build Targets within the package.json file.

Resources such as images, css, and gui files can be targeted to specific devices by using the following file-naming convention:
/resources/filename~SCREEN-RESOLUTION.ext
During the build process, we generate individual applications for each build target within a single .fba file, but we only include the relevant resources for each platform.
We always try to use the resource with the highest specificity first, then fall back to the default filename. For example, if you included these two files in your project:
/resources/styles~300x300.css
/resources/styles.css
The file styles~300x300.css would be used on Versa and styles.css would be
used as the default for other platforms.
From a referencing perspective, just refer to the base filename (e.g.,
styles.css) in your code or gui files.
<link rel="stylesheet" href="styles.css" />
You are not required to target resource files to specific devices, but it's a simple way of keeping your resource files uncluttered, or optimized for specific devices.
Device Detection
To perform device detection within your code files, we've updated the
BasicDeviceInfo interface to include the screen width and height. This is
in addition to the existing modelName and the modelId properties. You can
access screen dimensions via the Device.Device
API, or the Companion.Peer
API.
If you want to use the new screen property, you must define a default width
and height, in order to ensure your applications continue to work on Ionic
devices running older firmware.
if (!device.screen) device.screen = { width: 348, height: 250 };
Device API
import { me as device } from "device";
if (!device.screen) device.screen = { width: 348, height: 250 };
console.log(`Dimensions: ${device.screen.width}x${device.screen.height}`);
Companion API
import { device } from "peer";
if (!device.screen) device.screen = { width: 348, height: 250 };
console.log(`Dimensions: ${device.screen.width}x${device.screen.height}`);
Settings API
If you want to provide settings based on the type of connected device, you would
need to pass them from the Companion API to the Settings API using
settingsStorage, as follows:
import { device } from "peer";
if (!device.screen) device.screen = { width: 348, height: 250 };
settingsStorage.setItem("screenWidth", device.screen.width);
settingsStorage.setItem("screenHeight", device.screen.height);
function mySettings(props) {
  let screenWidth = props.settingsStorage.getItem("screenWidth");
  let screenHeight = props.settingsStorage.getItem("screenHeight");
}
Updating Existing Projects for Versa
It's important to note that any existing application or clock face which has been published in the Fitbit App Gallery will not be automatically available on Versa devices. To avoid poor formatting or broken apps, we decided not to automatically port over apps and clock faces to Versa. This decision was based on internal testing and feedback.
In order to make your app available on both Ionic and Versa, you should follow these steps:
Open your project within Fitbit Studio.
Select the
package.jsonfile, and enable Versa in the Build Targets.Test that your application works correctly on Versa and Ionic, and if required, make changes to correct any issues.
Take a screenshot on Ionic and Versa.
Build and download the project by selecting Download > Publish.
Open the Gallery App Manager and upload your new screenshots for Ionic and Versa, then submit the new
.fbafile for review.
You don't need a Versa or Ionic to get started---just try our amazing multi-device simulator.
The Device Simulator!
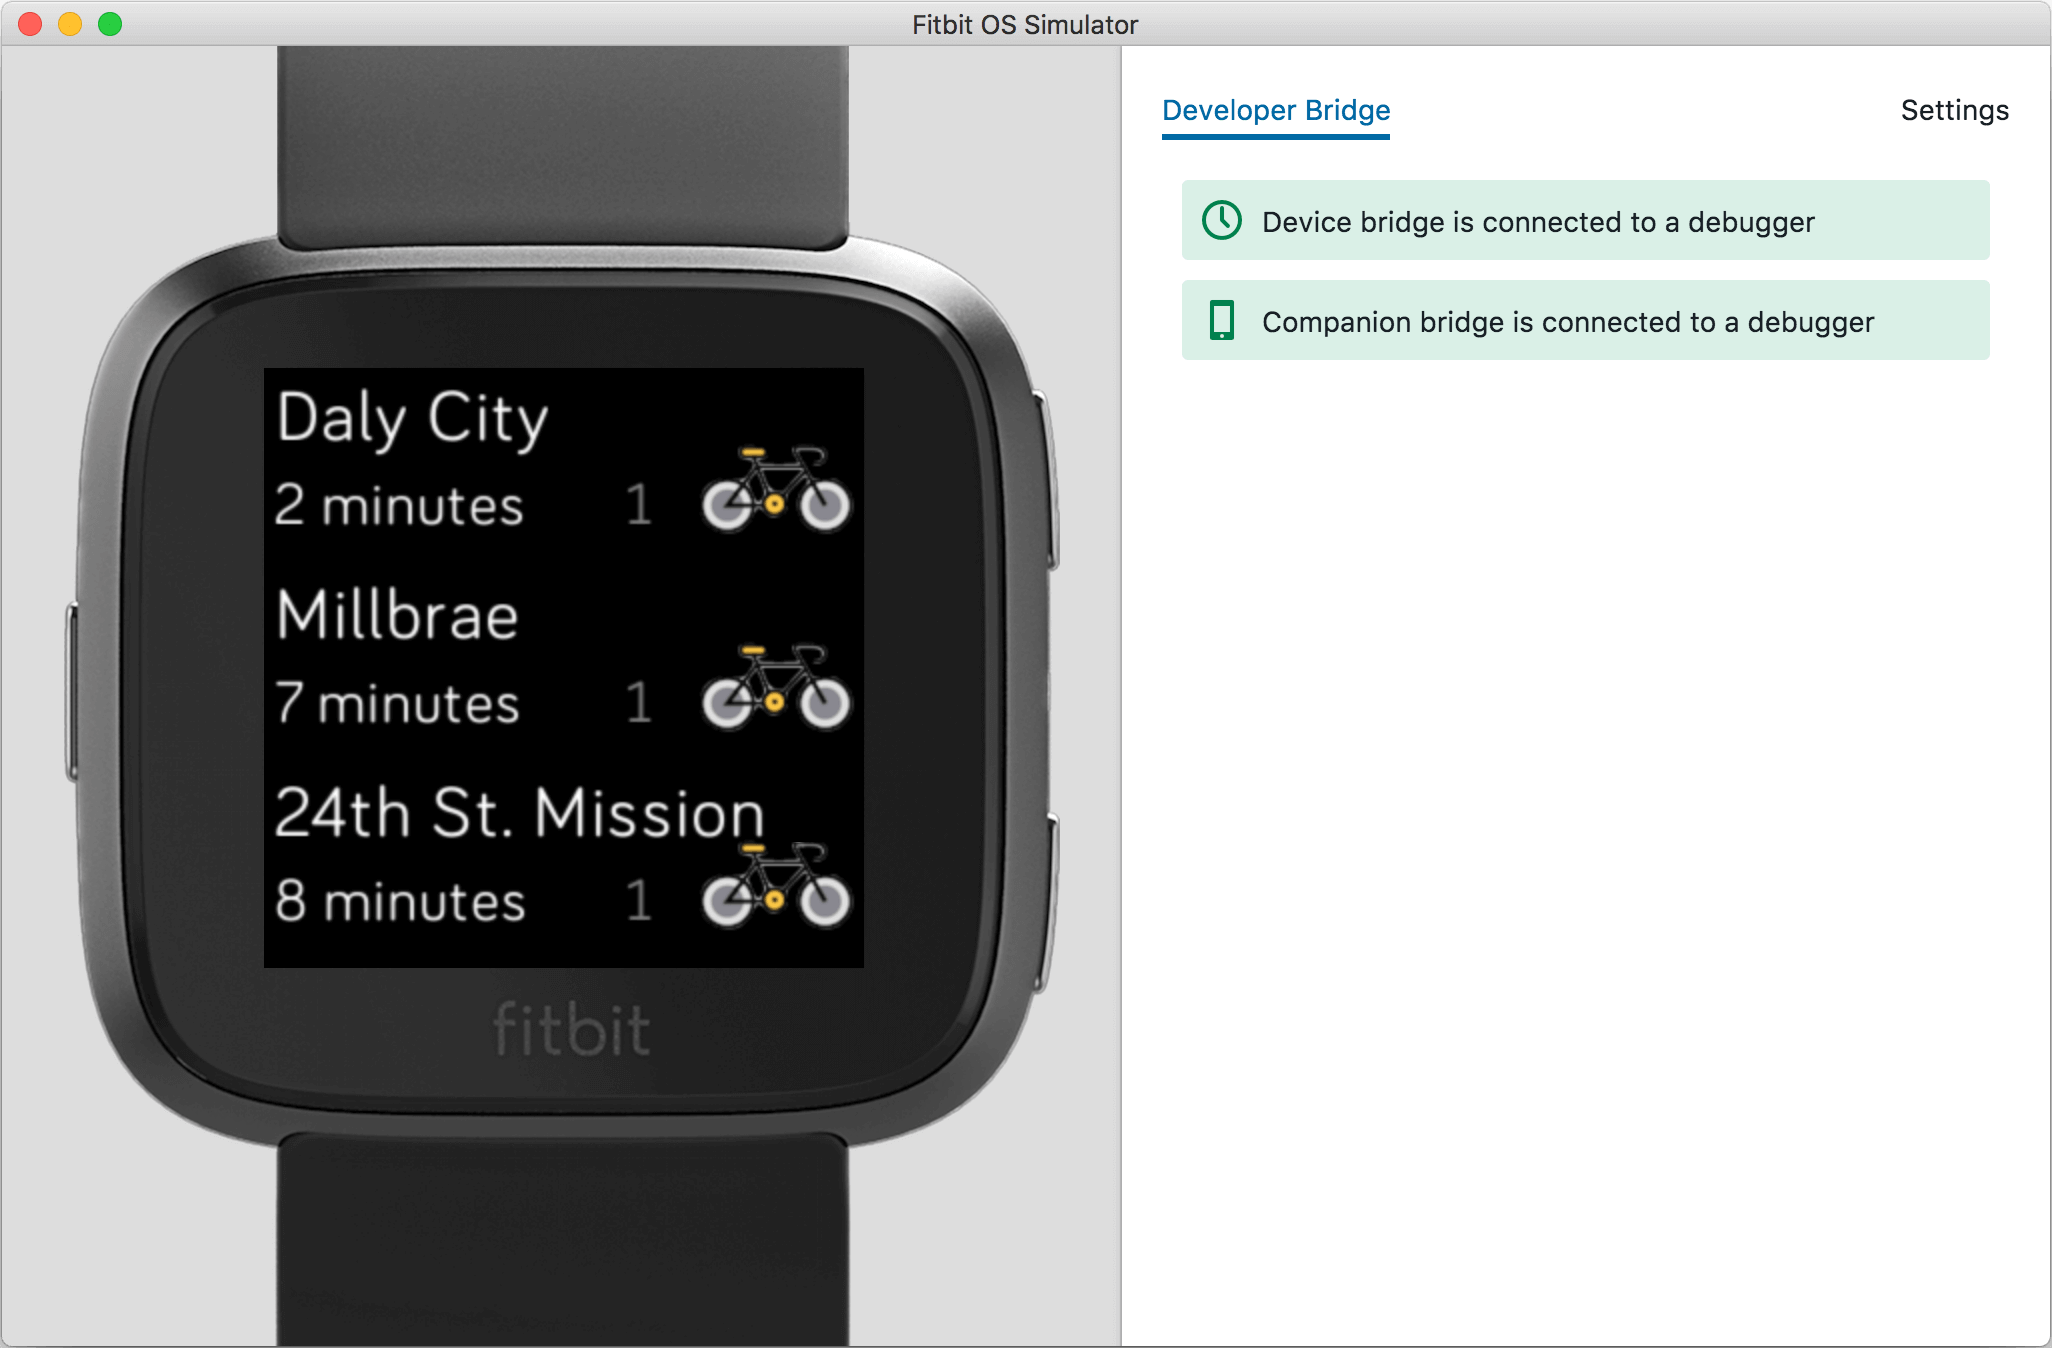
We're incredibly excited to bring developers the first version of our brand new multi-device simulator. This is a complete game changer in the Fitbit SDK development cycle. Not only is development faster, but now you can build and test applications for Ionic or Versa without owning the physical hardware! This opens the door to virtually anyone who has an interest in developing for the Fitbit platform.
This is a major milestone in the history of the Fitbit SDK, delivering the second most requested feature in our community.
The simulator is provided as a downloadable cross-platform Electron application for macOS and Windows directly within Fitbit Studio. It supports the Companion API and Settings API and can be used as an alternative to the physical device. We don't currently have any plans to implement a Linux version of the simulator, but if you feel strongly about this, please submit a feature suggestion.
Once you have downloaded and launched the simulator, you will be prompted to log in using your Fitbit account. At this stage the simulator will automatically connect to the developer bridge, and await the connection from Fitbit Studio. Now all you need to do is initiate the connection from Studio by selecting it from the devices menu, and begin installing your project.
To switch between Ionic and Versa, click on Settings in the simulator, and select the required device from the Device Type menu. After switching devices, you will need to select the device in Fitbit Studio to establish the developer bridge connection.
To find out more about the simulator release, please read the Release Notes.
Next Steps
If you've previously published an app or clock face to the Fitbit App Gallery, make sure you submit an updated version with support for both platforms. Don't forget to share your Versa screenshots on Twitter with the #Made4Fitbit hashtag.


